This Chili & Cornbread grocery store backpacking meal is not only cheap and easy to make at home (you literally put everything in a Crockpot and let it cook for 6 hours), but it’s also perfect for turning into a trail-friendly freeze-dried backpacking meal…and for a fraction of what you’d pay for one of the prepackaged backpacking meals.
There are a few different chili variations of the prepackaged backpacking meals currently out on the market. There’s chili mac, which is just chili with pasta from Trailtopia, Mountain Houseand Peak Refuel, which ranges in price from $7.50 to $13.95 per bag.
There are also variations of chili like Farm to Summit’s Three Bean Chili & Cornbread, Peak Refuel’s White Chicken Chili and Good To-Go’s Smoked Three-Bean Chili, which range in price from $14.95 to $15.95 per bag. Here’s how I make my own chili and cornbread at home using a Crockpot for $4.60 per serving.
Grocery Store Backpacking Meal Recipe: Chili & Cornbread
Ingredients (For the Chili)
1 lb ground beef
1 onion (chopped)
1 green bell pepper (chopped)
1 chili seasoning packet
1 (15 ounce) can of black beans (drained)
1 (15 ounce) can of kidney beans (drained)
1 small can of green chilies
2 (15 ounce) cans of diced tomatoes (don’t drain!)
1 (15 ounce) can of tomato sauce
Shredded cheddar cheese
Chopped green onions
Ingredients (For the Cornbread)
1 pkg of Jiffy cornbread mix
1 egg
1/3 cup of milk
Cooking Instructions
- Cook the ground beef with onion, bell pepper and chili seasoning
- Add to Crockpot: cooked beef, black beans, kidney beans, green chilies, diced tomatoes and tomato sauce
- Turn Crockpot on High, cover and let sit for 4 hours
- After 4 hours, stir the chili
- Make the cornbread mix according to the directions on the box
- Add shredded cheese on top of chili
- Add prepared cornbread mix on top of the cheese
- Cover and let sit for another 2 hours
Total Cook Time: 6 Hours
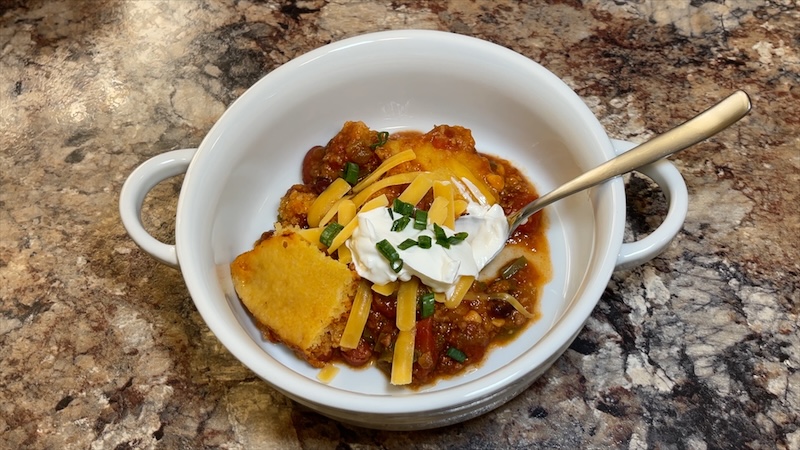
Option to top chili with cheese, sour cream and green onions
Freeze-Drying Instructions
On a freeze dryer tray, add two cups of chili and cornbread into a thin layer and spread it evenly over the tray.
Load the trays into the freeze dryer, start the batch and wait anywhere from 20 to 24 hours for the batch to be complete.
After the batch has been completed, remove food trays from the freeze dryer and package up each meal into a single serving bag. 1 Serving = 2 Cups of Chili & Cornbread
Vacuum seal each bag to help preserve freshness and prevent spoilage and then store in a dark, cool place.
Weight Before Freeze Drying: 11 ounces
Weight After Freeze Drying: 5.1 ounces
Rehydrating in the Backcountry
- Transfer the food into a food safe container that can withstand boiling water like a mylar bag, Stasher bag or a quart-sized Ziploc Freezer bag
- Boil water
- Add just enough boiling water to cover the food inside the bag. I don’t have exact measurements. I usually just eyeball this for each meal. When adding water, less is more to avoid the meal getting too soupy.
- Stir and close the bag
- Add food bag into an insulated food pouch or food cozy
- Let food rehydrate for 10-12 minutes
- Remove from the insulated food pouch (or food cozy) and stir
- Serve and enjoy!
Serving Size: 1 Serving = 2 cups of Chili & Cornbread
780 Calories per Serving
39 Grams of Protein
Cost Per Serving: $4.60
Recipe: Makes 6 Servings
Grocery Store Backpacking Food | Cheap & Easy DIY Freeze Dried Backpacking Meal Ideas
Learn how to make your own backpacking meals with some of other favorite grocery store backpacking meal recipes:
Chicken & Dumplings
Beef Stroganoff
Biscuits & Gravy
Beef Stew
Hamburger Pie
Chicken Fajitas & Guacamole
Corned Beef & Cabbage
DISCLAIMER: This post and video contain affiliate links, which means that if you click on one of the product links, I’ll receive a small commission at no extra cost to you. This helps support my blog, The Hungry Hiker and allows me to continue to create content for you free of charge. Thank you for your support!
2 Comments on Grocery Store Backpacking Meal Recipe: Chili & Cornbread