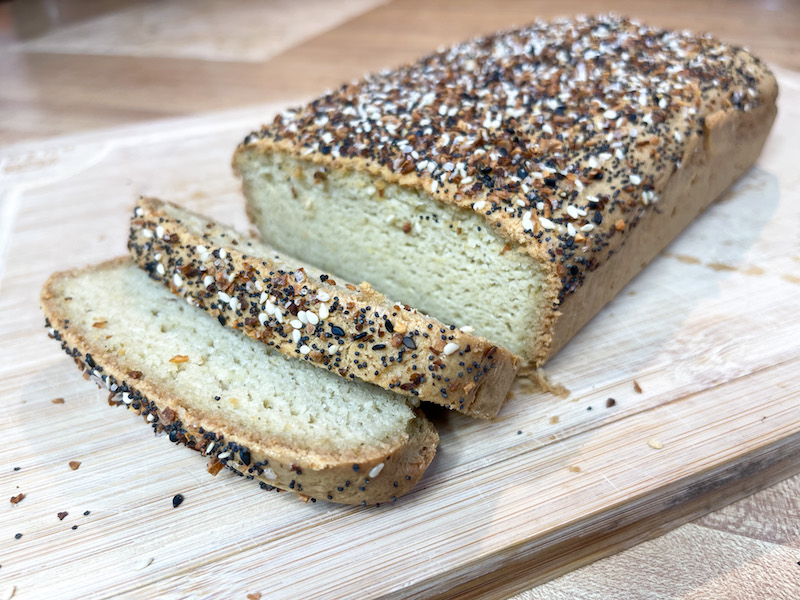
If you’re a hiker or backpacker who is gluten free and/or on a keto diet? Looking for a keto backpacking snack that’s easy to make? Maybe you’re just looking for more high calorie density foods to eat out on trail? This gluten free, keto bread recipe is for you! The macadamia nut and coconut butter base make this gluten free, keto bread recipe a super tasty high calorie density backpacking/hiking snack option.
Last year when I tried out the keto diet for 6 months, my bread cravings were STRONG. All I could think about was hiking, backpacking AND eating bread. I stumbled upon FlavCity with Bobby Parrish’s recipe for low carb keto bread and was impressed with how easy this keto bread recipe was to make…. and it’s delicious! This one definitely satisfied my bread craving.
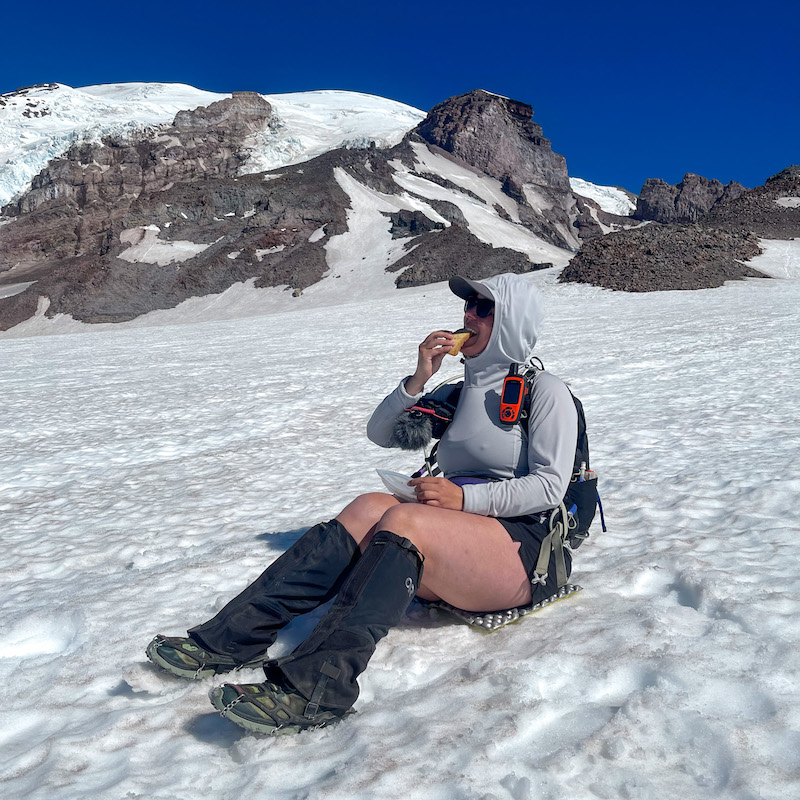
Even though I’m no longer following a keto diet, I still love making this keto bread recipe and take it with me out on trail because it’s so dang tasty.
This keto bread recipe is low carb, gluten free, dairy free, tasty and super easy to make with just 8 ingredients. Make this easy keto bread recipe the night before and then bring it with you out on trail the next day.
Gluten Free, Keto Bread Recipe
Ingredients
1 cup macadamia nuts
5 eggs
½ tsp Kosher salt
Zest of ½ lemon
1 tsp baking soda
1 tbsp lemon juice
1 cup softened coconut butter (coconut manna)
1 tsp baking powder
1-2 tbsp Everything But The Bagel Seasoning
Instructions:
- Preheat oven to 350 degrees.
- In a food processor, add macadamia nuts. Process for 30 seconds until creamy.
- Add each egg one at a time to the food processor, processing in-between each egg.
- Add salt, lemon zest and baking soda to the food processor. Then add the lemon juice on top of the baking soda in the food processor in order to activate it. You should see the baking soda fizz up. Process the mixture in the food processor for about 15 seconds.
- Add the coconut butter/coconut manna to the food processor mixture and process until smooth and creamy, another 15-20 seconds.
- Add baking powder to the food processor mixture and do one more final process for 15-20 seconds.
- In a non-stick, 9.5 x 5 x 2.3-inch bread/meatloaf pan, line the pan with parchment paper. This will help the bread to remove from the pan with ease after baking and makes clean up a cinch!
- Pour the batter from the food processor into the pan. Tap the pan onto the counter a few times to make sure the batter is nice and settled within the pan.
- Sprinkle the seasoning all along, on top of the batter.
- Bake in the over for 45 minutes, or until the bread is a nice golden brown on top.
- Remove from oven and let it sit for 5 minutes.
- After 5 minutes, lift the bread out of the pan by the parchment paper, remove the paper and let the bread finish cooling on a cooling rack for 15-20 minutes.
- Once the bread has cooled, slice and enjoy!
I usually eat the bread within the first few days of baking it, but Bobby says you can store the bread in an airtight container in the fridge for up to 3 days OR can freeze the bread for up to 3 months.
When out on trail, I precut my slices of gluten free, keto bread and store them in a Stasher Bag. Even if your bread gets squished in your pack, it will still keep its consistency and still taste delicious.
Learn how to make your own backpacking meals with some of my favorite recipes:
Holy Molé Breakfast Bars
Coconut Cashew Curry with Couscous
Dehydrated Pasta Penne Alfredo
Dehydrated Backcountry Spaghetti
Sweet & Spicy Homemade Trail Mix
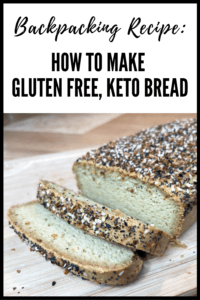
How To Make Gluten Free, Keto Bread | Backpacking Food Recipe
Inspired? Pin It!
3 Comments on How To Make Gluten Free, Keto Bread For Backpacking & Hiking